Hansgrohe bathroom faucets are renowned for their durability and sleek design, but occasional repairs are necessary․ This guide provides step-by-step solutions for common issues, from leaks to cartridge replacements, ensuring your faucet functions optimally․ With detailed troubleshooting tips and maintenance advice, you’ll be equipped to handle repairs confidently, extending the lifespan of your Hansgrohe fixture․
Overview of Hansgrohe Faucets
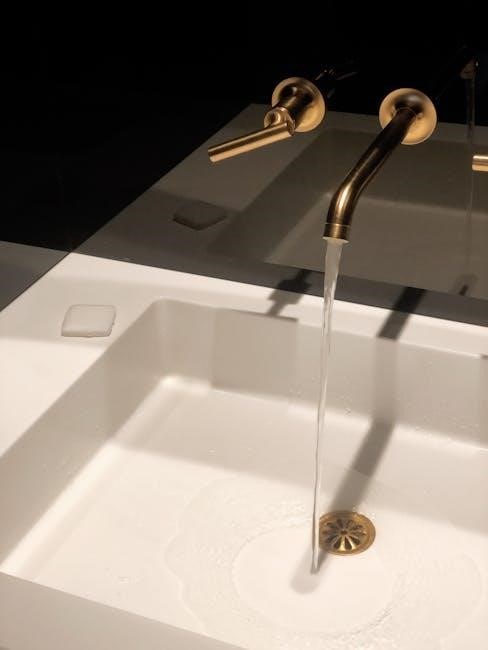
Hansgrohe faucets are known for their innovative design, durability, and high-quality engineering․ Popular models like Axor Starck Organic, Talis M54, and PuraVida offer sleek aesthetics and advanced functionality․ Designed with modular components, these faucets allow easy replacement of parts, making repairs more accessible․ Hansgrohe’s commitment to excellence ensures long-lasting performance, while their customer support and comprehensive manuals provide guidance for maintenance and troubleshooting․ This combination of style, reliability, and user-friendly design makes Hansgrohe faucets a top choice for modern bathrooms and kitchens․
Importance of Regular Maintenance
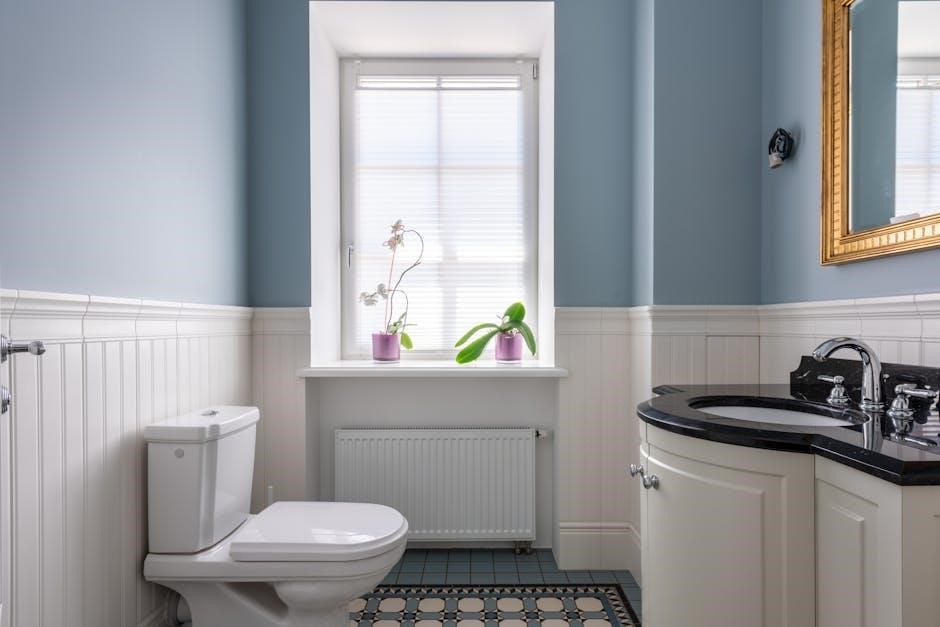
Regular maintenance is crucial for extending the lifespan of Hansgrohe faucets․ Cleaning aerators, inspecting cartridges, and checking for leaks can prevent major issues․ Mineral buildup and wear on parts like O-rings and gaskets are common problems that maintenance can address early․ By staying proactive, you avoid costly repairs and ensure optimal water flow and functionality․ Hansgrohe’s design allows for easy access to components, making routine upkeep straightforward․ This commitment to maintenance ensures your faucet continues to perform flawlessly, maintaining its aesthetic and functional appeal over time․

Identifying Common Issues in Hansgrohe Faucets
Hansgrohe faucets may experience issues like limescale buildup, handle misalignment, or faulty aerators, which can affect water flow and performance․ Regular inspection helps identify these problems early․
Leaks Around the Faucet Cartridge
Leaks around the faucet cartridge are a common issue, often caused by worn-out O-rings or gaskets․ Over time, these seals can deteriorate due to water pressure or mineral buildup․ If you notice water seeping from the cartridge area, it’s essential to address the problem promptly to prevent further damage․ To fix this, turn off the water supply and disassemble the faucet to inspect the cartridge and surrounding seals․ Replace any worn or damaged parts with genuine Hansgrohe spares to ensure a leak-free performance and maintain your faucet’s longevity․
Dripping or Running Water
Dripping or running water from a Hansgrohe faucet is often caused by a faulty cartridge or worn-out seals․ These issues can occur due to mineral buildup, improper installation, or natural wear over time․ To resolve this, turn off the water supply and disassemble the faucet to inspect the cartridge and O-rings․ Clean or replace these components as needed, ensuring all parts are properly aligned and tightened․ Regular maintenance, such as descaling and checking for worn seals, can prevent future occurrences and maintain optimal performance․
Issues with the Drain Mechanism
Issues with the drain mechanism in Hansgrohe faucets often stem from improper installation or wear over time․ The drain assembly, including the pivot ball and seals, may leak if not aligned correctly․ To address this, ensure the pivot ball faces the faucet and tighten the retainer nut securely․ If the issue persists, inspect for mineral buildup or damaged seals, which may require replacement․ Proper lubrication and alignment during reinstallation can prevent future problems and ensure smooth operation of the drain system․

Gathering Tools and Materials for Repair
Gather essential tools like adjustable wrenches, screwdrivers, and Allen keys․ Ensure spare parts, such as O-rings and cartridges, are available to streamline the repair process efficiently․
Essential Tools Needed
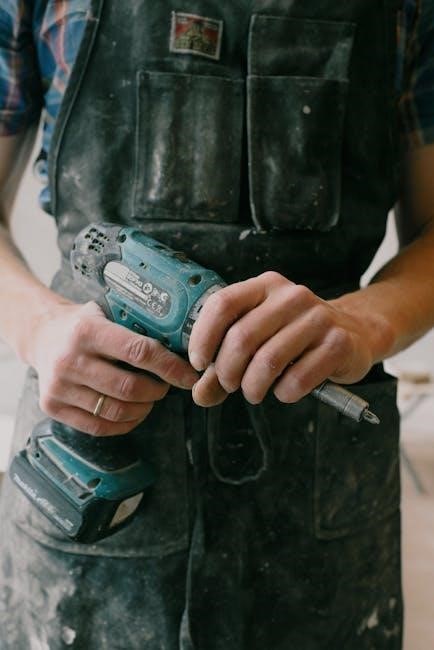
Gathering the right tools is crucial for a smooth repair process․ Start with an adjustable wrench for tightening and loosening fittings․ A flathead and Phillips screwdriver are necessary for disassembling the faucet handle․ An Allen key is often required to remove the cartridge retaining nut․ Needle-nose pliers can help retrieve small parts, while a bucket or container is useful for catching water during disassembly․ Ensure all tools are within reach to avoid delays․ Consult your Hansgrohe manual for model-specific tool recommendations to ensure compatibility and ease of repair․
Recommended Spare Parts
For effective Hansgrohe faucet repair, keep essential spare parts on hand․ Ceramic cartridges are the most commonly replaced component, resolving leaks and flow issues․ O-rings and gaskets are crucial for sealing connections and preventing water seepage․ Additionally, drain assembly components like the pivot rod and rubber gasket may need replacement․ Aerators and spray nozzles can also be serviced to maintain water flow quality․ Always refer to your specific faucet model’s manual for exact part numbers․ Genuine Hansgrohe parts ensure optimal performance and warranty compliance, making them the best choice for longevity and reliability․
Step-by-Step Guide to Faucet Disassembly
Begin by turning off the water supply․ Use an Allen wrench to remove the handle or knob, then gently pry off any decorative caps․ Next, unscrew the retaining ring or collar to access the faucet cartridge․ Be cautious of small parts and springs during disassembly to avoid damage or loss․ Proper disassembly ensures safe and effective access to internal components for repair or replacement․
Removing the Handle or Knob
Start by shutting off the water supply to prevent leaks․ Locate the set screw holding the handle in place, typically found on the top or side․ Use an Allen wrench to remove the screw, then gently pull the handle straight off․ Some models may have a decorative cap that needs to be pried off first․ Once removed, set the handle and screw aside carefully․ Inspect the stem for any mineral buildup or debris, which may need cleaning before proceeding with further repairs․
Accessing the Faucet Cartridge
To access the faucet cartridge, first remove the handle or knob as previously described․ Use a wrench or spanner tool to reach the retaining nut or clip securing the cartridge․ Gently loosen and lift the nut or remove the clip to expose the cartridge․ Carefully pull the cartridge straight up to remove it from the faucet body․ Before replacing or cleaning, inspect the area for mineral buildup or debris that may need to be cleared․ This step is crucial for diagnosing and resolving issues like leaks or restricted water flow․
Repairing Common Faucet Problems
Identify and diagnose issues like leaks or drips, then address them by replacing worn parts․ Hansgrohe’s modular design simplifies repairs, ensuring your faucet runs smoothly and lasts longer․
Replacing the Faucet Cartridge
Replacing the faucet cartridge is a common repair for Hansgrohe faucets, often needed due to leaks or mineral buildup․ Start by turning off the water supply and disassembling the faucet handle․ Remove any retaining clips or screws to access the cartridge․ Carefully pull out the old cartridge and replace it with a new one, ensuring it’s aligned properly․ Reassemble the faucet in the reverse order, then test the water flow to confirm the fix․ Always use genuine Hansgrohe parts for optimal performance and longevity․
Fixing the Drain Assembly
Issues with the drain assembly, such as leaks or poor functionality, can often be resolved by adjusting or replacing components․ Start by inspecting the pivot rod and plunger for proper alignment․ Tighten any loose connections or replace worn-out gaskets․ If the leak persists, consider replacing the entire drain mechanism․ Always refer to your Hansgrohe manual for specific instructions tailored to your faucet model․ Ensuring the drain assembly is in good working order will prevent water leaks and maintain your bathroom’s efficiency and appearance․

Reassembling the Faucet
After completing repairs, carefully reinstall the handle, cartridge, and drain mechanism․ Ensure all components are properly aligned and securely tightened to avoid future leaks or malfunctions․
Reinstalling the Handle or Knob
Once repairs are complete, align the handle or knob with its mounting bracket․ Secure it using the provided screws or clips․ Ensure proper alignment to avoid uneven wear․ Tighten firmly but avoid over-tightening, which could damage the faucet․ Test the handle’s movement to confirm smooth operation․ If equipped with set screws, ensure they are snug but not over-tightened․ Finally, check for any leaks around the handle area and ensure all parts function as intended․
Testing the Faucet After Repair
After reassembling your Hansgrohe faucet, turn on the water supply and check for leaks around connections․ Ensure the faucet handle operates smoothly, with proper water flow and temperature control․ Test both hot and cold water to confirm functionality․ Inspect the drain mechanism to ensure it opens and closes correctly․ Run water through the faucet for a few minutes to check for consistent flow and any hidden leaks․ Verify that all repaired or replaced parts function as intended, ensuring your faucet performs like new․
Preventative Maintenance Tips
Regularly clean faucet aerators to prevent limescale buildup and ensure optimal water flow․ Inspect seals and O-rings for wear and replace them promptly to avoid leaks and damage․
Cleaning the Faucet Aerators
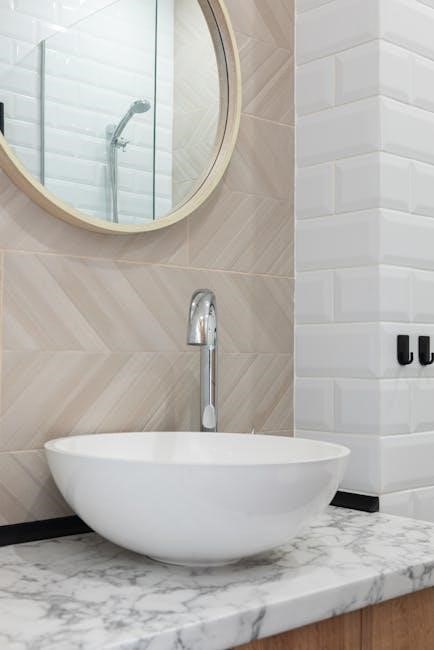
Cleaning the faucet aerators is a simple yet crucial maintenance task․ Over time, mineral buildup from water can clog the aerator, reducing flow․ To clean, remove the aerator from the faucet spout and soak it in a mixture of white vinegar and water․ Use a soft toothbrush to gently scrub away any limescale or debris․ Rinse thoroughly and reinstall․ Regular cleaning ensures optimal water flow and prevents damage to the faucet․ This step is especially important in areas with hard water to maintain performance and longevity․
Inspecting and Replacing Worn-Out Parts
Regularly inspecting faucet components like O-rings, gaskets, and cartridges is essential for maintaining performance․ Look for signs of wear, such as cracks, mineral buildup, or discoloration․ Replace worn parts promptly to prevent leaks and further damage․ Use a wrench or pliers to remove old components and install new ones․ Always refer to your Hansgrohe manual for specific part numbers․ Replacing worn parts early ensures smooth operation and extends the faucet’s lifespan․ This proactive approach saves time and money by avoiding costly repairs later․
Warranty and Support Information
Hansgrohe offers a comprehensive warranty, providing up to 5 years of coverage for faucet components․ For repairs or replacements, contact their customer support team for assistance and guidance․
Understanding Hansgrohe’s Warranty Policy
Hansgrohe offers a 5-year warranty on most faucet components, ensuring long-term protection for your investment․ This warranty covers manufacturing defects and material issues, providing peace of mind․ To claim warranty benefits, customers must register their product and provide proof of purchase․ Hansgrohe’s customer support team is available to assist with warranty-related inquiries via phone, email, or their official website․ Additionally, the warranty period may vary depending on specific product lines and regional policies․ Always refer to the official manual or website for detailed terms and conditions․
Contacting Hansgrohe Customer Support
For assistance with your Hansgrohe faucet repair, contact their dedicated customer support team․ Visit their official website to access contact information, including phone numbers and email addresses․ Live chat options are also available for immediate help․ Additionally, Hansgrohe offers a comprehensive FAQ section and downloadable resources to address common inquiries․ Ensure you have your product model number and purchase details ready for efficient support․ Their team is committed to resolving issues promptly, providing expert guidance and ensuring a smooth repair experience․ Timely support is just a click or call away․
Final Tips for Successful Repair
For a successful repair, always turn off the water supply before starting․ Use genuine Hansgrohe parts to ensure compatibility and durability․ After reassembling, test the faucet thoroughly to check for leaks or proper function․ Regularly clean the aerator to prevent mineral buildup․ Keep your repair manual handy for future reference․ If unsure, consult Hansgrohe’s customer support or watch their repair videos․ Proper maintenance will extend the lifespan of your faucet, ensuring optimal performance and reliability over time; A well-maintained faucet enhances both functionality and aesthetic appeal in your bathroom․