Discover the convenience of free kitchen island plans in PDF format, offering detailed DIY guides to create functional and stylish kitchen islands․ Perfect for beginners and experienced DIYers alike, these plans provide customizable designs, cost-effective solutions, and step-by-step instructions to enhance your kitchen space with a beautiful and practical island․
What Are Kitchen Island Plans?
Kitchen island plans are detailed guides that help you design and build a custom kitchen island․ They typically include materials lists, step-by-step instructions, and diagrams to ensure a successful project․ These plans are often available in PDF format, making them easy to download and follow․ Whether you’re a DIY novice or an experienced builder, kitchen island plans provide a clear roadmap to create a functional and stylish addition to your kitchen, tailored to your specific needs and budget․
Why Use Free Kitchen Island Plans?
Using free kitchen island plans is a cost-effective way to enhance your kitchen’s functionality and style․ These plans provide detailed instructions and materials lists, allowing you to customize your project to fit your space and preferences․ They eliminate the need for expensive professional designs, making it accessible for DIY enthusiasts of all skill levels․ With free plans, you can save money while creating a kitchen island that perfectly complements your home’s aesthetic and meets your practical needs․ This approach is both budget-friendly and empowering for homeowners․
Benefits of Kitchen Island Plans
Kitchen island plans offer numerous benefits, including enhanced functionality, improved workflow, and increased storage․ They maximize space efficiency, making even small kitchens more practical․ Additionally, these plans allow for customization, ensuring your island matches your kitchen’s style and meets your specific needs․ With clear instructions and material lists, they simplify the building process, saving time and effort․ Whether you’re a DIY novice or an experienced builder, kitchen island plans provide a cost-effective solution to elevate your kitchen’s design and usability․
Customization Options
Kitchen island plans provide endless customization opportunities, allowing you to tailor your project to fit your unique needs and kitchen style․ From size and shape to materials and finishes, you can personalize every detail․ Choose from various layouts, such as adding cabinets, drawers, or open shelving for storage․ Incorporate features like built-in appliances, a sink, or a breakfast bar to enhance functionality․ With detailed PDF plans, you can modify designs to suit your skill level, budget, and kitchen layout, ensuring your island is both practical and visually appealing․
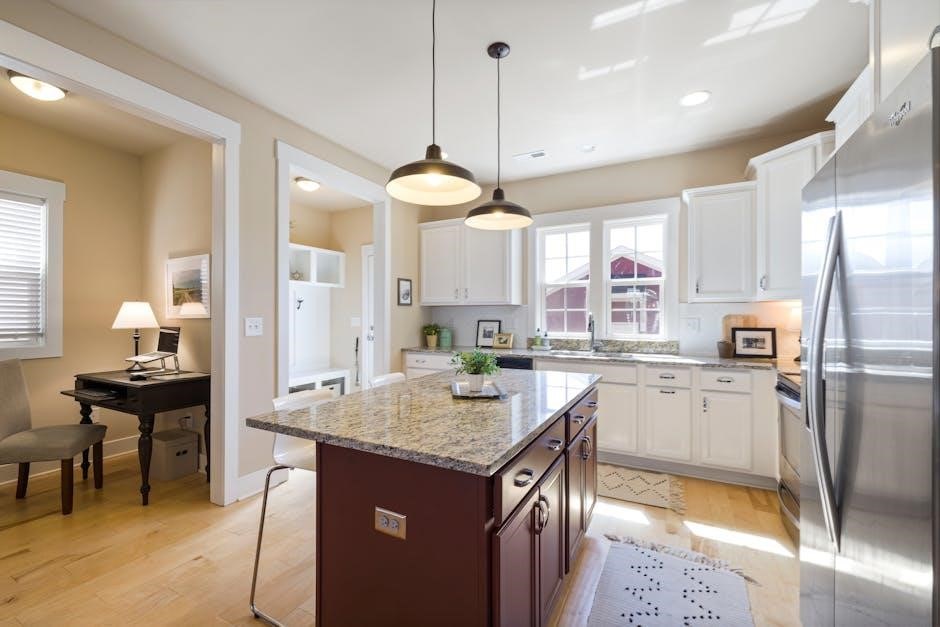
Cost-Effective Solutions
Kitchen island plans offer budget-friendly options, making it easy to create a functional and stylish island without breaking the bank․ Free PDF plans eliminate the cost of professional designs, allowing you to invest in materials․ Repurpose reclaimed wood, use affordable finishes, or opt for cost-effective materials like butcher block countertops․ These plans guide you in building an island tailored to your needs, ensuring you save money while achieving a professional-looking result․ Perfect for DIY enthusiasts, these solutions help you maximize your kitchen’s potential on a budget․
Space Optimization Ideas
Kitchen island plans provide innovative ways to maximize your kitchen’s space efficiently․ By customizing the size and shape of your island, you can fit it seamlessly into your layout, ensuring optimal workflow․ Incorporate shelves, drawers, or cabinets to enhance storage without compromising on style․ Additionally, consider multi-functional features like built-in sinks, cooktops, or breakfast bars to create a practical yet aesthetically pleasing design․ These ideas help you make the most of your kitchen’s available space while maintaining functionality and charm․
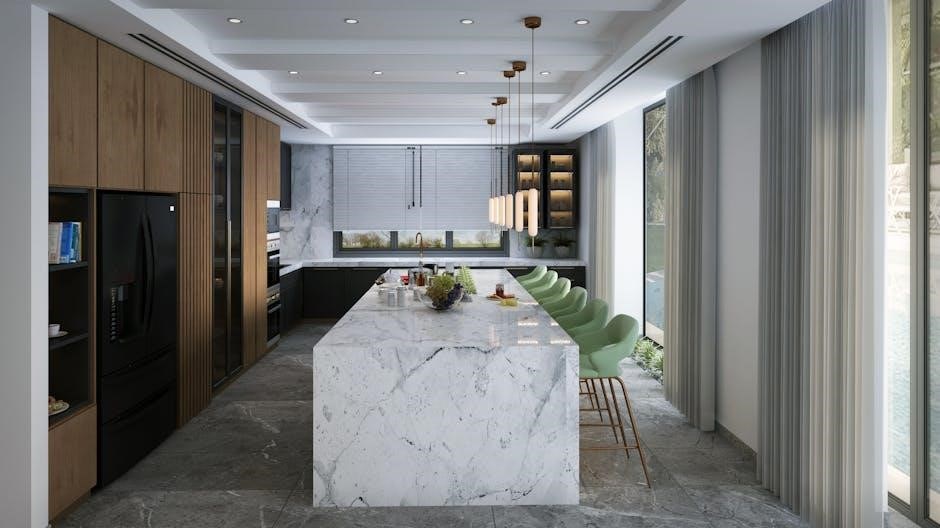
Design Considerations for Kitchen Islands
Designing a kitchen island involves choosing materials, finishes, and features that blend functionality with style․ Consider durable surfaces, storage options, and seating to create a versatile and appealing space․
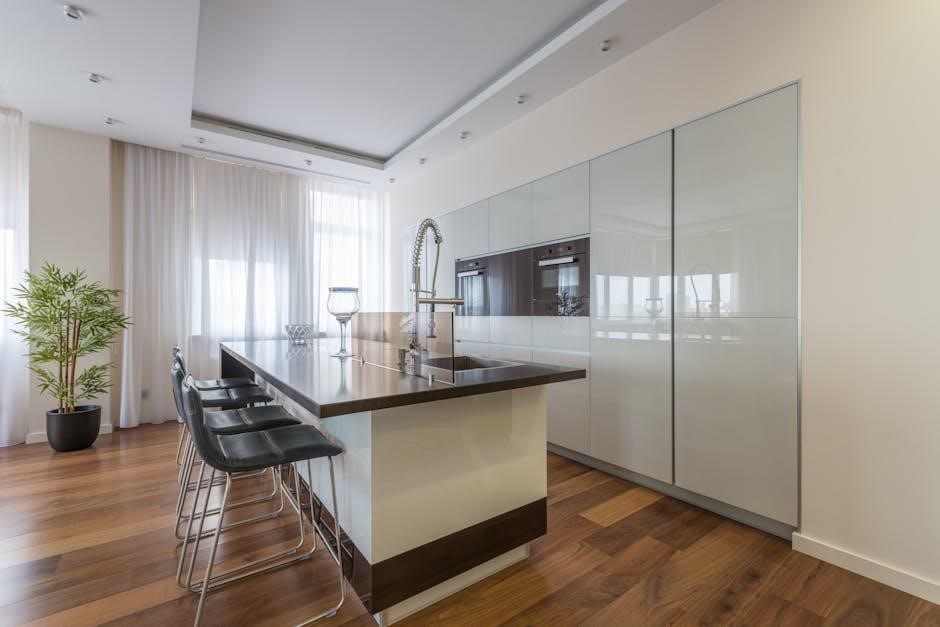
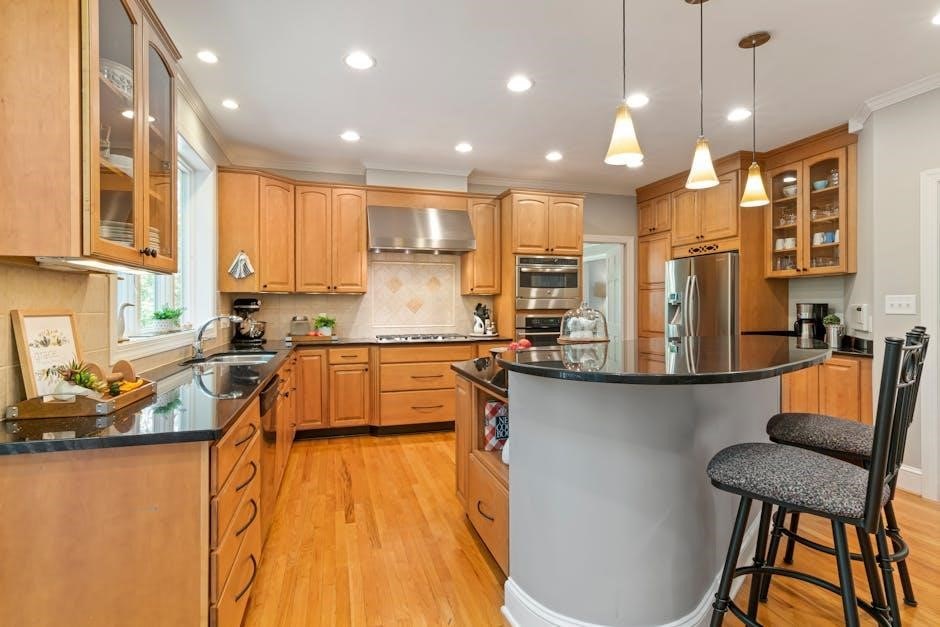
Choosing the Right Size and Shape
Selecting the right size and shape for your kitchen island is crucial to ensure it fits seamlessly into your space․ Measure your kitchen area carefully to determine the maximum dimensions possible without obstructing movement․ Consider the workflow in your kitchen, known as the “kitchen triangle,” to position the island for optimal efficiency․ A rectangular shape is ideal for most kitchens, but circular or L-shaped islands can also work depending on your layout and needs․ Always leave at least 36 inches of clearance around the island for easy access and functionality․
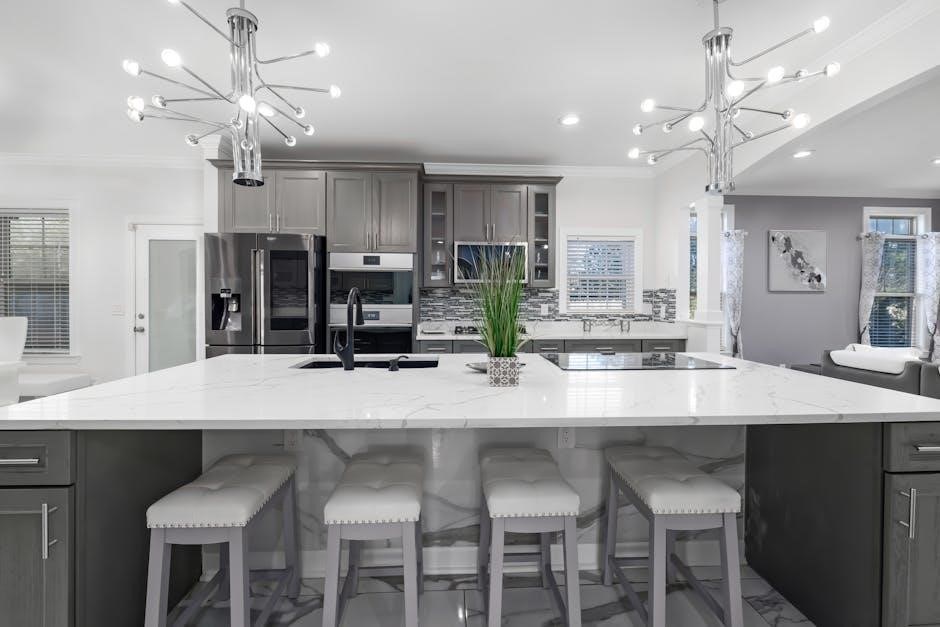
Materials and Finishes for Durability
Choosing the right materials and finishes ensures your kitchen island is both durable and stylish․ Opt for sturdy wood like maple or oak for the frame and countertops․ For a smooth finish, use 1×6 boards, while 2×6 boards create a rustic look․ Apply a high-quality sealant or paint to protect the wood and enhance aesthetics․ Stainless steel or granite tops are excellent for added durability․ Consider using a Kreg Jig for secure assembly and wood filler to hide screw holes, ensuring a professional finish that withstands daily use․
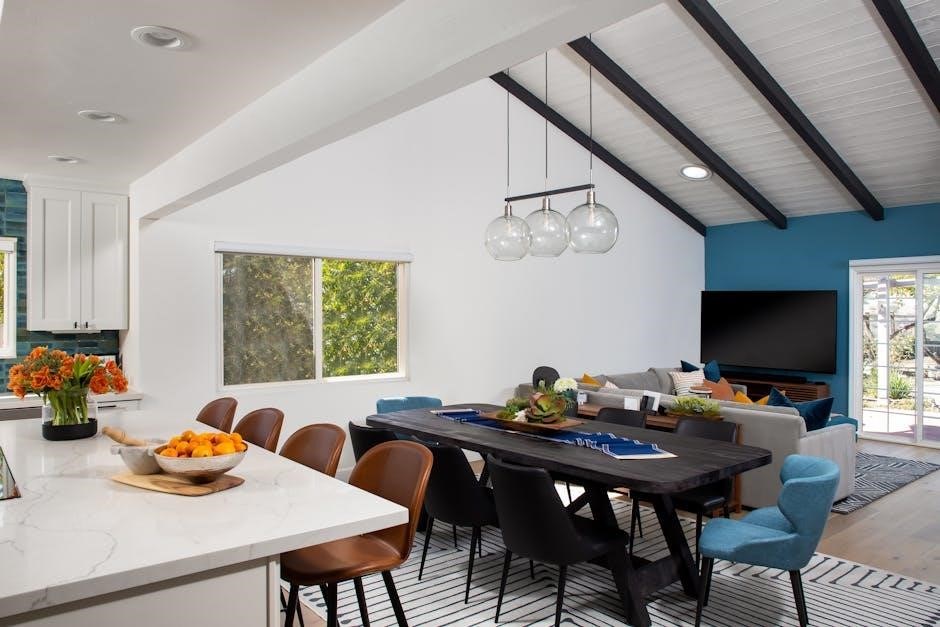
Functional Features to Include
Incorporate practical features into your kitchen island design to maximize usability․ Consider adding cabinets, drawers, or shelves for storage․ A built-in countertop with a butcher block or granite surface offers a durable workspace․ Include electrical outlets for appliances or USB ports for convenience․ Some plans feature a sink or cooktop installation, enhancing functionality․ Open shelving or hooks can provide easy access to utensils․ Customizing these features ensures your island meets your specific cooking and entertaining needs, making it a versatile addition to your kitchen․
Tools and Materials Needed
Essential tools include a Kreg Jig, miter saw, and drill․ Materials like 2x4s, 2x6s, screws, and wood filler are required for constructing a sturdy kitchen island․
Essential Tools for Building a Kitchen Island
Building a kitchen island requires essential tools like a Kreg Jig for pocket holes, a compound miter saw for precise cuts, and a drill for screwing pieces together․ An impact driver is useful for heavy-duty screws, while sanders ensure smooth surfaces․ Clamps are crucial for holding frames steady, and a tape measure and level guarantee accuracy․ A wrench may be needed for adjustments․ These tools ensure a professional finish and proper assembly, making the project efficient and successful․
Recommended Materials for Different Budgets
For a budget-friendly kitchen island, consider using 2x4s and 2x6s for the frame and legs, paired with 1x6s for a smoother countertop․ Mid-range options include MDF or plywood for the top, combined with affordable cabinets․ Premium materials like solid hardwood or quartz offer durability and a stylish finish․ Regardless of budget, ensure materials are straight and free of defects․ Using a Kreg Jig for assembly or star bit screws can enhance structural integrity․ Always pre-sand boards for a polished look, and consider cost-effective alternatives like IKEA cabinets for a sleek, affordable design․

Step-by-Step Building Guide
Start by preparing your workspace and tools, then assemble the frame and legs․ Attach shelves for storage and finish with a sturdy countertop․ Ensure everything is level and secure for a professional-quality kitchen island․
Preparing the Workspace and Tools
Ensure your workspace is clean and well-organized for efficiency․ Gather essential tools like a tape measure, level, drill, and clamps․ Sand boards with 120 grit sandpaper for smooth finishes․ Select straight, knot-free lumber to avoid warping․ Use a compound miter saw for precise cuts and a Kreg Jig for secure joints․ Lay out all materials and plans beforehand to streamline the process․ Safety gear, such as gloves and goggles, is a must․ Proper preparation ensures accuracy and safety throughout your kitchen island project․
Assembling the Frame and Legs
Begin by constructing the frame using 2×4 lumber, ensuring all corners are square․ Attach legs securely with 2-1/2″ screws, slightly angling for strength․ For a polished look, use a Kreg Jig to hide screw holes․ If unavailable, use star bit screws and wood filler․ Double-check measurements and alignment before tightening․ Reinforce joints for stability, ensuring the frame is sturdy․ This step is crucial for a durable and even base, setting the foundation for the rest of your kitchen island․
Adding Countertops and Finishing Touches
Attach the prefinished countertop to the frame using 2-1/2″ screws, ensuring alignment for a seamless look․ Sand all surfaces with 120-grit sandpaper for a smooth finish․ Apply paint, stain, or sealant to match your kitchen decor․ For a polished appearance, use a Kreg Jig to hide screw holes․ Allow finishes to dry completely before sealing with a protective coat․ Finally, install any hardware or decorative trim to complete your kitchen island, ensuring it blends perfectly with your kitchen’s aesthetic and functionality․
Free Kitchen Island Plans in PDF Format
Download free PDF plans for kitchen islands, offering customizable designs and step-by-step guides․ Perfect for DIY projects, these plans cater to various styles and budgets․
Where to Find Free Kitchen Island Plans Online
Find free kitchen island plans in PDF format on popular DIY websites like Ana-White․com, Cherished Bliss, and other online platforms․ These sites offer detailed designs, material lists, and step-by-step instructions․ Many plans cater to various skill levels and kitchen sizes, ensuring you can find one that suits your needs․ Additionally, forums and DIY communities share valuable resources, making it easy to download and customize your perfect kitchen island plan․
Key Features to Look for in a Plan
When selecting a kitchen island plan, ensure it includes detailed instructions, a complete material list, and a cut list․ Look for customizable designs that fit your kitchen size and style․ Check for clear diagrams, photos, and step-by-step assembly guides․ Adjustable plans allow you to modify dimensions or features to suit your needs․ Ensure the plan includes options for countertops, storage, and finishes․ A good plan should also specify the tools required and offer tips for a professional finish, making your DIY project easier and more successful․
DIY Tips and Tricks
Use a Kreg Jig for precise assembly, and opt for 2-1/2 pocket hole screws․ Sand boards with 120 grit sandpaper for a smooth finish․ Pre-cut materials to save time, and ensure frames are square before adding countertops․ For a rustic look, use 2×6 boards, or 1x6s for a sleeker surface․ Always pre-drill holes to avoid splitting wood, and clamp pieces firmly during assembly for alignment accuracy․ These tips ensure a professional-quality kitchen island build, even for beginners, by minimizing errors and enhancing durability, making your project both enjoyable and rewarding with a polished outcome that lasts․ Perfect for customizing your space efficiently and effectively while staying within budget and achieving a high-end look with minimal effort․ Consider adding decorative trim or molding for a personalized touch, and don’t forget to seal your countertops for long-lasting protection against spills and stains․ Happy building!

Common Mistakes to Avoid
When building a kitchen island, avoid improper measurements, as they can lead to a misfit design․ Ensure precise cuts and alignment to maintain structural integrity․ Neglecting to sand boards thoroughly can result in a rough finish․ Using low-quality materials may compromise durability․ Forgetting to pre-drill holes can cause wood splitting․ Additionally, not squaring the frame before adding countertops can lead to an uneven surface․ Lastly, rushing the assembly without following the plan can result in a poorly constructed island․ These mistakes can be avoided with careful planning and attention to detail, ensuring a professional-grade finish and functionality that meets your needs and enhances your kitchen’s aesthetic appeal, making your DIY project both successful and satisfying․
Advanced Techniques for a Professional Finish
To achieve a professional-grade finish for your kitchen island, incorporate advanced woodworking techniques such as using a Kreg Jig for invisible joints or star bit screws for secure assembly․ Consider adding decorative trim or molding for a polished look․ Applying a high-quality finish, like a durable stain or paint, ensures longevity and style․ Detailed sanding, precise measurements, and careful alignment are crucial for a seamless appearance․ Additionally, using materials like butcher block or engineered stone for countertops can elevate the island’s functionality and aesthetic appeal, making it a standout feature in your kitchen that reflects professional craftsmanship and sophistication, while also providing a practical workspace that enhances your cooking experience․
Maintenance and Styling Ideas
Keep your kitchen island looking new with regular sanding and sealing․ Style it by adding decorative trim and matching your kitchen’s decor for a polished look․
How to Keep Your Kitchen Island Looking New
Regular maintenance is key to preserving your kitchen island’s appearance․ Clean surfaces with mild detergents and avoid harsh chemicals․ For butcher block or solid wood tops, apply food-safe sealants periodically․ Protect the finish by promptly wiping spills and avoiding direct sunlight exposure․ Sand lightly and refinish as needed to remove scratches․ Use coasters and cutting boards to prevent water marks and knife damage․ For painted or laminated surfaces, avoid abrasive cleaners and buff out minor scratches․ These simple steps ensure your island remains a stylish and functional centerpiece for years․
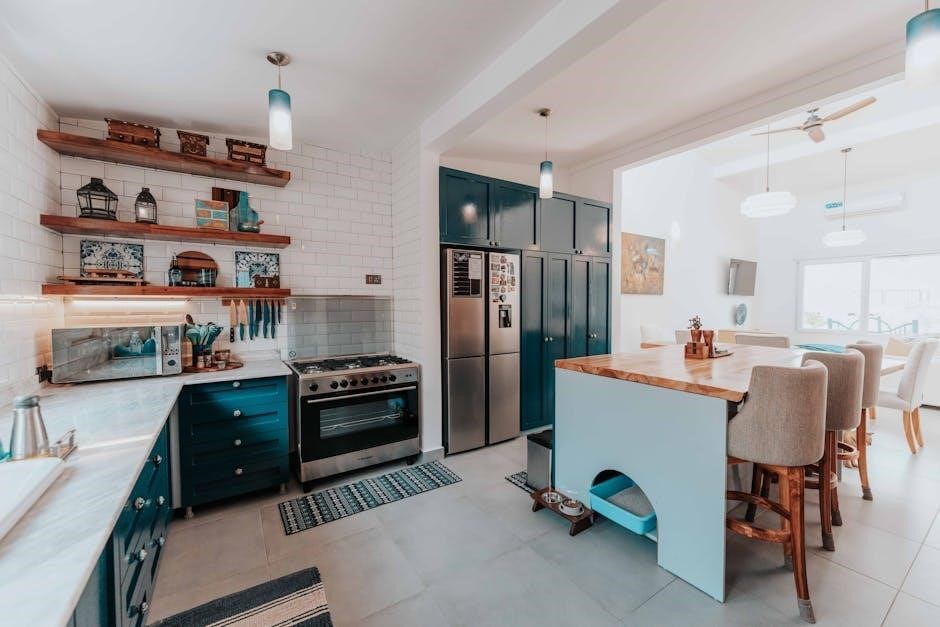
Styling Your Island to Match Your Kitchen Decor
Styling your kitchen island to match your decor enhances the cohesive look of your kitchen․ Choose materials and finishes that complement your existing cabinetry and countertops, such as butcher block, granite, or stainless steel․ Paint or stain the island to blend seamlessly with your kitchen’s color scheme․ Add decorative trim, lighting, or hardware to reflect your personal style․ Incorporate storage solutions like baskets or shelves to maintain functionality while keeping the space visually appealing․ This ensures your island becomes a stylish and functional centerpiece of your kitchen․